Hiking is a fun activity people of all ages and fitness levels enjoy. You only need a little hiking shoes, a tent, food, and water. That’s all. Sometimes, you can go hiking even without a tent if you plan on coming back the same day. But seasoned hikers don’t travel with the bare essentials. Instead, they understand a few items’ importance and always carry them along. Today, we have compiled a list of hiking gear everyone must bring to enjoy a fun and safe hiking experience.
Water capacity
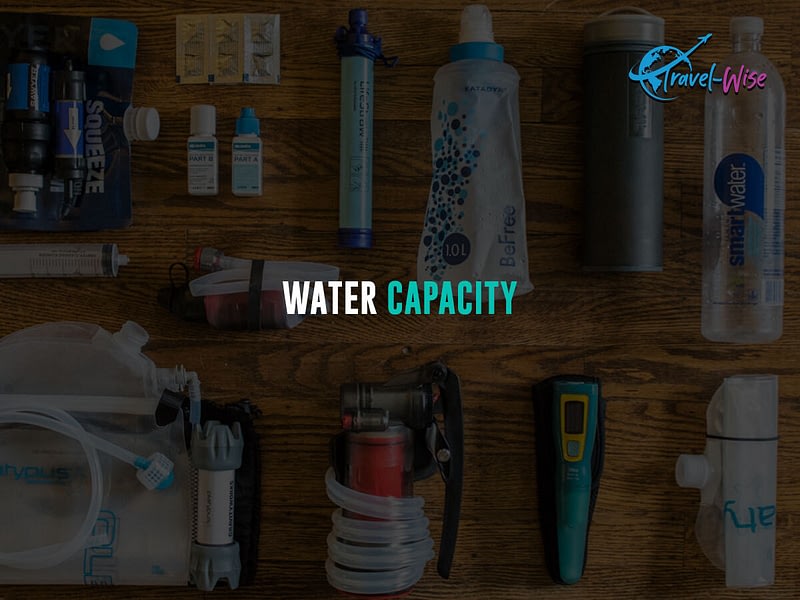
In hiking, water capacity refers to the amount of water hikers must carry to stay hydrated during their outdoor adventures. Adequate hydration is essential for safety, well-being, and optimal hiking performance, especially with limited water resources.
The appropriate water capacity depends on factors such as the duration of the hike, weather conditions, terrain hardness, individual needs, availability of a water source, and emergency considerations. Carrying enough water ensures hikers can maintain their hydration levels throughout the trip.
Water Carrying Equipment
Various gear options allow hikers to carry water efficiently and comfortably during their hike.
Water Bottle
Lightweight and portable water bottles are a simple and convenient way to carry water. They come in different sizes and materials, such as plastic, stainless steel, and collapsible designs.
Hydration Reservoirs (Bladders)
These are flexible water tanks that fit inside a backpack. They usually have a hose and throttle for hands-free drinking, allowing hikers to drink without stopping.
Water Purification Systems
It is important to note that in areas with questionable water quality, water treatment systems such as filters, cleaners, or chemical treatments can make natural water sources safe for drinking.
Hip Belt Pouches
Some backpacks come with hip belt pouches or pockets that you can use to carry water bottles or hydration reservoirs without removing the bag from your back.
It is important to choose the right equipment for carrying water based on individual preferences, the length and difficulty of the hike, as well as the hiker’s specific requirements. Staying hydrated and adequately equipped with proper water-carrying gear is critical to a safe and enjoyable hiking experience.
When hiking, the amount of water to bring depends on the weather and the distance. Here are some general guidelines:
Moderate Climate (Temperate)
Carry about 0.5 to 1 liter (17 to 34 ounces) of water per hour of walking in temperate climates where the temperature is moderate and not too hot or dry.
Hot and Dry Climate
If you’re likely to sweat more in hot, dry weather, carry at least 1 to 1.5 liters of water per hour.
Hike Distance
For hiking distances, a common recommendation is about half a liter to a liter of water per mile (16 to 34 ounces per mile).
Although these recommendations are general, individual needs may differ. Water intake should be adjusted based on your hydration status. Additionally, if your hike takes longer than expected, plan for emergencies by carrying extra water or if water supplies are unavailable.
During hiking, you should consume dry snacks

A dry snack is a lightweight, non-perishable food option that provides hikers quick energy and nutrition during outdoor activities. These snacks are easily portable and do not require refrigeration, so they are a good option for on-the-go consumption.
You must always hike with food. Accidents can happen anytime, and if you are stranded in a jungle, you need something to eat to maintain your strength. So, carry protein and fat-rich food the next time you go hiking.
Quantity Based on Hike Duration and Conditions
It would be best if you considered the following factors when planning how many dry snacks to bring on a hike:
- Hike duration: Estimate the number of hours or days you will hike.
- Climate and intensity: Hot and harsh conditions increase energy consumption.
- Snack Calorie Density: Have about 150-200 calories per hour of activity.
You might need more snacks for energy when it’s hot and strenuous outside. The daily quantity should be multiplied by the number of days you are hiking for several days.
Examples of dry snacks
- Trail Mix: Nuts, dried fruits, seeds, and sometimes chocolate or granola. It provides a balanced combination of healthy fats, carbohydrates, and protein.
- Energy Bars: Prepackaged bars that provide quick energy contain grains, nuts, fruits, and sometimes added protein.
- Dried Fruits: Portable and sweet dried fruits such as raisins, apricots, and mangoes provide natural sugar and quick energy.
- Crackers: Whole grains or nutcrackers are a source of carbohydrates and can be combined with cheese or nut butter.
The multi-tool for hiking
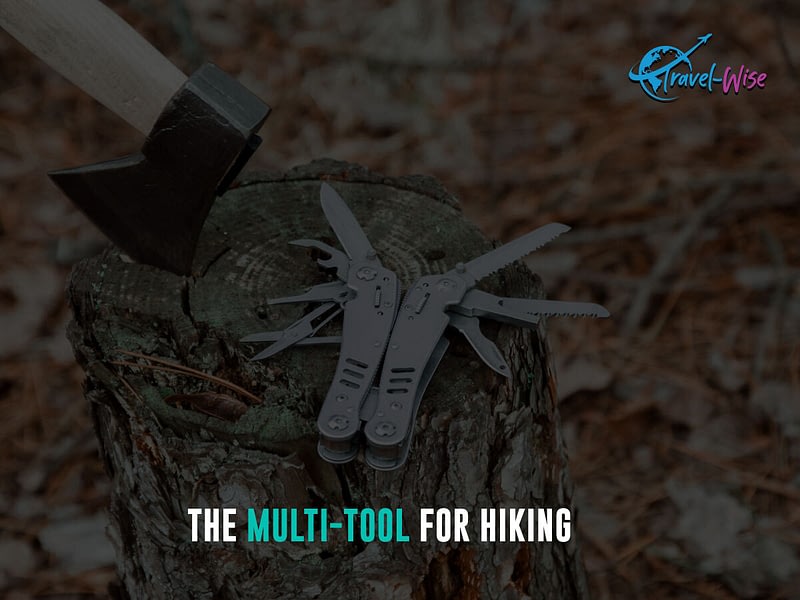
Have you ever wished you had a Swiss Army knife while hiking? If so, consider getting a multi-tool, a compact and ingenious device that combines various tools into a single, portable unit. A multi-tool can help you handle multiple tasks and offer practical solutions in a pinch. Here are some of the different tools commonly found in multi-tools and how they can prove invaluable during hikes:
- A knife blade for cutting rope, preparing food, crafting tools, and even first aid procedures.
- A saw for cutting through branches, logs, or other obstacles that might obstruct your path or impede your progress.
- Pliers for removing splinters, repairing gear, or bending objects.
- A screwdriver for tightening gear, fixing equipment, or adjusting on the go.
- A bottle and can opener for opening canned foods and beverages or prying lids off containers.
- Scissors for cutting cloth, tape, or bandages, especially in emergencies.
- An awl for punching holes, repairing fabric, or creating makeshift shelters.
- Wire cutters for cutting thin wires or cables.
- A file for smoothing rough edges, sharpening blades, or refining tools.
- Tweezers for removing splinters, thorns, or other small foreign objects from your skin.
- A magnifying glass for reading maps, starting fires, or examining tiny objects.
- A flashlight for navigating in low-light conditions or signaling for help.
Hiking first aid
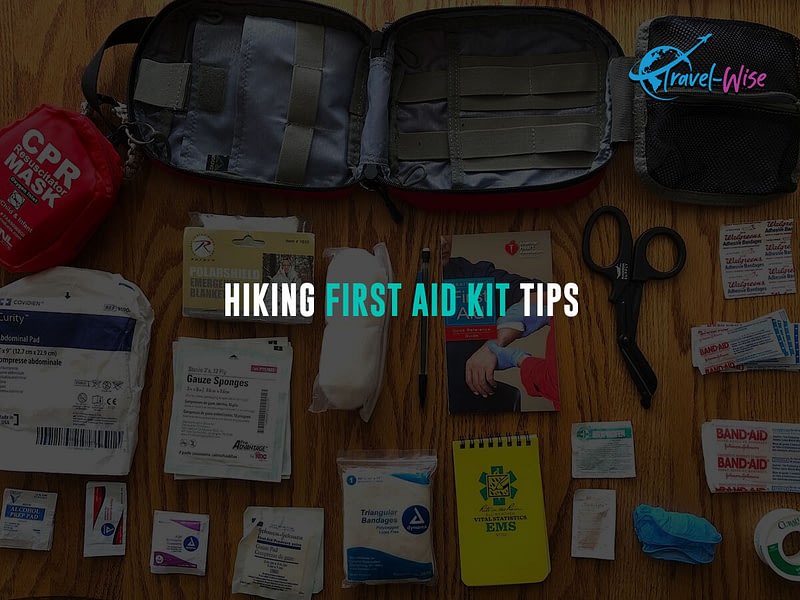
Imagine hiking on a remote trail and suddenly tripping and falling, injuring your ankle. You are miles from the nearest town and have no cell phone signal. What do you do? This is where a well-prepared first aid kit can save your day – and possibly your life.
A first aid kit is more than just a piece of gear – it’s your safety net in the great outdoors. Whether setting out for a short day hike or a multi-day expedition, having the right essentials in your first aid kit is crucial.
First Aid Kit Essentials
- Adhesive Bandages: For minor cuts, scrapes, and blisters.
- Sterile Gauze Pads and Adhesive Tape: For larger wounds that need proper dressing.
- Antiseptic Wipes and Ointment: To cleanse wounds and prevent infection.
- Tweezers: To remove splinters and other minor objects.
- Scissors: To cut gauze, tape, or clothing if needed.
- Pain Relievers: To ease headaches or muscle soreness.
- Antihistamines: To combat allergies and insect bites.
- Moleskin or Blister Treatment: To prevent and treat blister discomfort.
- First Aid Manual: To guide you through basic medical procedures.
- CPR Face Shield or Mask: To administer CPR safely.
Tailoring Your Kit
However, not all hikes are the same. Depending on the length and type of your hike, you may need to tailor your first aid kit accordingly. Here are some tips on how to do that:
- Short Day Hikes: For a few hours on the trail, focus on basics like bandages, antiseptic wipes, pain relievers, and blister treatment.
- Moderate Distance Hikes (1-2 Days): Add sterile gauze, adhesive tape, and scissors for more comprehensive wound care.
- Extended Hikes (3 Days or More): Include a larger supply of essentials. Consider adding more medication, a SAM splint for fractures, and a compact emergency blanket.
- Remote or Challenging Terrain: If you’re venturing into rugged terrain, bring items like tweezers, a tourniquet, and an irrigation syringe for cleaning wounds.
A first aid kit isn’t just about what’s inside; it’s about being informed and ready. Please familiarize yourself with the items in your equipment and their uses before hitting the trail.
Remember, the farther you roam, the more comprehensive your kit should be. By tailoring your first aid kit to your hiking plans, you’re not just prepared – you’re confident, capable, and equipped to handle whatever the wilderness throws.
Hiking shoes
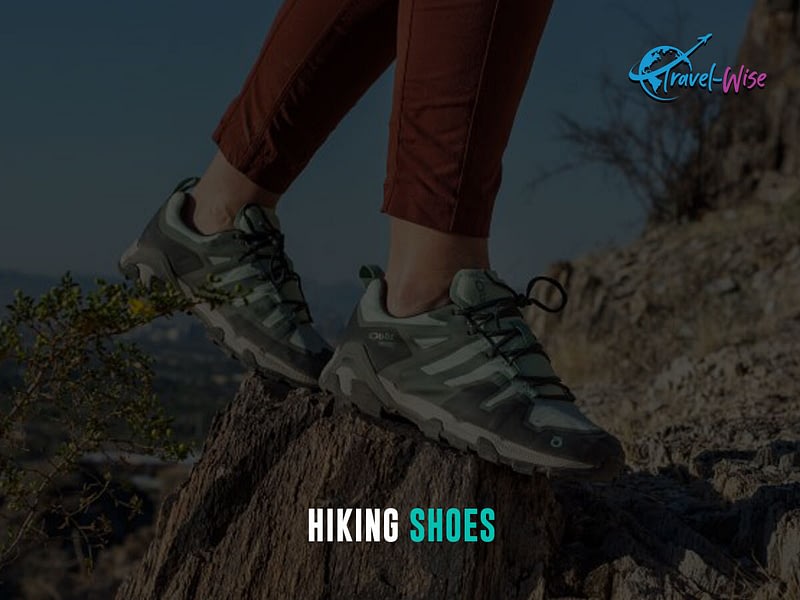
Spending money on shoes is often all about showing off. Hiking shoes, however, are a different story. Only buy a cheap hiking shoe that fits you and feels comfortable. A wrong hiking shoe will spoil the experience and damage your feet.
Choosing the right hiking shoes is paramount for a comfortable and successful trek. While we’ll delve into greater detail in our dedicated article, let’s touch on the key features you should consider when buying hiking shoes, along with some exclusive insights:
Ankle Support
Hiking shoes come in various styles, with ankle height being a critical factor. Low-cut shoes offer flexibility and are ideal for well-maintained trails. At the same time, mid-cut and high-cut options provide extra ankle support, which is crucial for traversing uneven terrain and carrying heavier loads.
Weight Considerations
A lightweight shoe can enhance agility, making it suitable for day hikes and less demanding trails. Conversely, sturdier shoes provide better protection for rugged terrains and longer journeys, albeit with slightly more weight.
Traction and Outsole
Look for shoes with durable, grippy outsoles that handle different surfaces and conditions. Lugs and treads provide traction on slippery surfaces, mud, and loose terrain, offering stability and reducing the risk of slips and falls.
Breathability
Adequate ventilation prevents your feet from becoming sweaty and uncomfortable during long hikes. Shoes with breathable materials and mesh panels help regulate temperature and minimize moisture buildup.
Waterproofing
Waterproof or water-resistant hiking shoes are crucial for wet or rainy conditions. They keep your feet dry and comfortable, especially when crossing streams or encountering unexpected downpours.
Cushioning and Comfort
A well-cushioned insole and midsole absorb shock and impact, providing comfort during extended walks. A padded collar and tongue contribute to reducing friction and pressure points.
Fit and Sizing
Proper fit is paramount. Your hiking shoes should offer ample toe room, a snug heel, and no tight spots. Try on shoes with the socks you intend to wear while hiking.
Durability
Hiking shoes are an investment, so opt for quality construction using durable materials that can withstand the rigors of outdoor exploration.
Remember, your choice between hiking shoes and hiking boots depends on factors like trail type, weather conditions, and personal preference. Refer to our comprehensive guide for more insights into selecting hiking shoes. Your hiking shoes are your steadfast companions, so make a choice that ensures comfort, safety, and performance as you journey through the magnificent outdoors.
Hiking Clothes

What you wear on the trail can make a huge difference in your hiking experience. Selecting appropriate clothing for hiking is essential to ensure comfort, protection, and mobility throughout your outdoor adventure. Let’s explore the key factors to consider when choosing hiking clothes:
Layering System
Embrace the approach for optimal temperature regulation and versatility. Begin with a moisture-wicking base layer to keep sweat away from your skin. Add an insulating layer for warmth, and finish with an outer shell to shield against wind and rain.
Material Choice
Opt for lightweight, breathable, moisture-wicking fabrics like merino wool or synthetic blends. These materials regulate body temperature and help manage sweat, keeping you dry and comfortable.
Quick-Drying
Clothes that dry quickly are essential, especially if you encounter rain or need to wash items during your hike. Quick-drying fabrics prevent discomfort from wet clothing and reduce the risk of hypothermia.
Sun Protection
Choose clothing with built-in UPF (Ultraviolet Protection Factor) to shield your skin from harmful UV rays. Don’t forget a wide-brimmed hat, sunglasses, and sunscreen for protection.
Mobility and Comfort
Opt for clothes that allow a full range of motion. Stretchy materials and articulated designs ensure comfort during uphill climbs and tricky descents.
Convertible Options
Some pants and shirts come with zip-off or roll-up features, allowing you to adapt to changing weather conditions or terrain.
Footwear Compatibility
Consider clothing that works seamlessly with your chosen hiking shoes or boots. Avoid pants that might get caught in the heel of your footwear.
Protection Against Bugs and Brush
For hikes in bug-prone areas or through dense vegetation, consider clothing treated with insect repellent or wear lightweight, long-sleeved layers.
By carefully considering these factors, you’ll be well-equipped to assemble a hiking wardrobe that suits your needs and preferences. Remember, the right hiking clothes enhance your comfort and performance and contribute to a safe and enjoyable experience on the trail.
Hiking flashlights
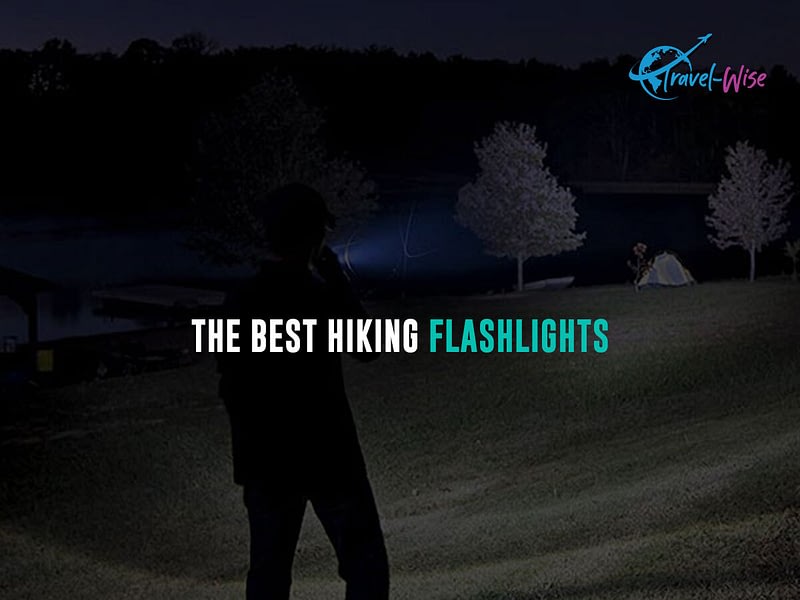
Regarding hiking, a reliable flashlight is more than just a light source; it’s a crucial tool for safety and navigation. Here’s what you need to know when selecting the perfect flashlight for your outdoor escapades:
Lumens
Lumens indicate a flashlight’s brightness. For hiking, a range of 150 to 300 lumens is generally sufficient. Lower settings conserve battery life for extended use, while higher settings provide ample light for night hikes or emergencies.
Beam Distance
Consider the distance the flashlight can illuminate effectively. A beam distance of 50 to 100 meters helps you see the trail ahead and potential obstacles.
Battery Type and Life
Opt for flashlights that use standard batteries like AA or AAA for easy replacement. Additionally, look for models with longer battery life, especially if you’ll be on extended hikes.
Durability and Weather Resistance
Hiking exposes your gear to rough conditions. A flashlight with a rugged build and water resistance (IPX4 or higher) ensures it can handle rain, splashes, and accidental drops.
Size and Weight
A compact and lightweight flashlight is essential for your hiking gear. Choose a size that fits comfortably in your pocket or can be easily attached to your backpack.
Adjustable Focus
Some flashlights allow you to adjust the beam’s focus. This feature helps spotlight distant objects or cast a wider beam for close-up tasks.
Multiple Light Modes
Flashlights with different light modes (high, medium, low, strobe) provide versatility for various scenarios. Strobe mode can be valuable for signaling or attracting attention.
Red Light Mode
Red light preserves your night vision and is less likely to disturb wildlife or fellow hikers when used in a campsite.
Headlamp Option
A headlamp is a hands-free lighting solution, leaving your hands available for other tasks like setting up camp or cooking.
SOS Functionality
Some flashlights have an SOS mode that emits a distress signal in Morse code. This can be a lifesaver in emergencies.
Tactical Grip and Anti-Roll Design
A textured grip and anti-roll features prevent the flashlight from slipping out of your hand or rolling away on uneven surfaces.
Rechargeable Option
Rechargeable flashlights reduce waste and are convenient for longer trips. Make sure you have access to a power source or portable charger.
Choosing a flashlight tailored to your hiking needs ensures you have a reliable source of light when darkness falls. Consider factors like lumens, battery life, and durability to make an informed decision. A high-quality flashlight isn’t just a convenience – it’s an essential tool that enhances your safety and enjoyment during outdoor adventures.
Emergency shelters
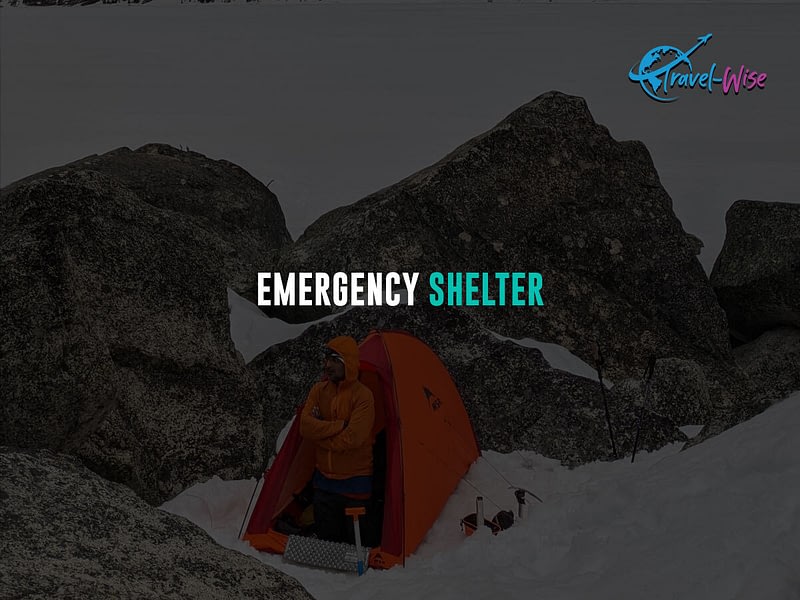
Imagine you’re hiking in the wilderness, and a sudden storm hits. You are miles from the nearest shelter and have no cell phone signal. What do you do? This is where an emergency shelter can save your life. An emergency shelter is a lightweight thermal bag that protects against the elements and maintains body heat in remote areas.
An emergency shelter is vital in ensuring safety for hikers who encounter unexpected situations in the vast expanse of nature. These shelters are designed for minimal weight and size, making them easy to carry in your backpack. They are typically made from reflective thermal materials that help trap and retain body heat, essential for preventing hypothermia and ensuring survival.
When choosing an emergency shelter, keep these factors in mind.
- Durability: Choose a shelter made from sturdy materials that can withstand rough use.
- Size: Ensure the shelter can comfortably accommodate you while sealing warmly.
- Ease of Use: opt for shelters with simple setup mechanisms for quick emergency deployment.
- Reflectivity: Look for high-visibility and reflective materials that enhance visibility for potential rescuers.
- Packability: Select a shelter that can be easily folded and stowed in your backpack.
- Brand Reputation: Prioritize trusted brands known for their reliability and quality.
An emergency shelter can save your life in the remote and unpredictable wilderness. Remember this essential item when planning outdoor excursions. You have peace of mind knowing you have a haven in a crisis. Selecting an emergency shelter based on your needs and adhering to safety standards can enhance your chances of survival and make hiking safer.
Start Your Trip Planning!
Start planning your trip now with Travel-Wise’s free trip-planning tools to have you on your way to your destination faster than ever!

